注意
转到末尾 下载完整的示例代码。
使用 ONNX 算子
ONNX 旨在描述 scikit-learn 中实现的大部分机器学习模型,但它并不一定以 scikit-learn 相同的方式描述预测函数。虽然可以定义自定义算子,但通常需要一些时间才能将其添加到 ONNX 规范中,然后再添加到用于计算预测的后端。最好先看看是否可以使用现有算子。列表可在 github 上找到,其中包含 基本算子 以及其他 专用于机器学习的算子。ONNX 有一个 Python API,可用于定义 ONNX 图:PythonAPIOverview.md。但它相当冗长,难以描述大型图。sklearn-onnx 实现了一种更简洁的方式来测试 ONNX 算子。
ONNX Python API
让我们尝试 ONNX 文档中给出的示例:使用辅助函数创建 ONNX 模型。它依赖于 protobuf,其定义可以在 github onnx.proto 上找到。
import onnxruntime
import numpy
import os
import numpy as np
import matplotlib.pyplot as plt
import onnx
from onnx import helper
from onnx import TensorProto
from onnx.tools.net_drawer import GetPydotGraph, GetOpNodeProducer

# Create one input (ValueInfoProto)
X = helper.make_tensor_value_info("X", TensorProto.FLOAT, [None, 2])

# Create one output (ValueInfoProto)
Y = helper.make_tensor_value_info("Y", TensorProto.FLOAT, [None, 4])

# Create a node (NodeProto)
node_def = helper.make_node(
    "Pad",  # node name
    ["X"],  # inputs
    ["Y"],  # outputs
    mode="constant",  # attributes
    value=1.5,
    pads=[0, 1, 0, 1],
)

# Create the graph (GraphProto)
graph_def = helper.make_graph(
    [node_def],
    "test-model",
    [X],
    [Y],
)

# Create the model (ModelProto)
model_def = helper.make_model(graph_def, producer_name="onnx-example")
model_def.opset_import[0].version = 10

print("The model is:\n{}".format(model_def))
onnx.checker.check_model(model_def)
print("The model is checked!")
The model is:
ir_version: 12
producer_name: "onnx-example"
graph {
  node {
    input: "X"
    output: "Y"
    op_type: "Pad"
    attribute {
      name: "mode"
      s: "constant"
      type: STRING
    }
    attribute {
      name: "pads"
      ints: 0
      ints: 1
      ints: 0
      ints: 1
      type: INTS
    }
    attribute {
      name: "value"
      f: 1.5
      type: FLOAT
    }
  }
  name: "test-model"
  input {
    name: "X"
    type {
      tensor_type {
        elem_type: 1
        shape {
          dim {
          }
          dim {
            dim_value: 2
          }
        }
      }
    }
  }
  output {
    name: "Y"
    type {
      tensor_type {
        elem_type: 1
        shape {
          dim {
          }
          dim {
            dim_value: 4
          }
        }
      }
    }
  }
}
opset_import {
  version: 10
}

The model is checked!
使用 sklearn-onnx 运行相同示例
sklearn-onnx 中每个算子都有自己的类。列表是根据安装的 onnx 包动态创建的。
from skl2onnx.algebra.onnx_ops import OnnxPad

pad = OnnxPad(
    "X",
    output_names=["Y"],
    mode="constant",
    value=1.5,
    pads=[0, 1, 0, 1],
    op_version=10,
)
model_def = pad.to_onnx({"X": X}, target_opset=10)

print("The model is:\n{}".format(model_def))
onnx.checker.check_model(model_def)
print("The model is checked!")
The model is:
ir_version: 5
producer_name: "skl2onnx"
producer_version: "1.19.1"
domain: "ai.onnx"
model_version: 0
graph {
  node {
    input: "X"
    output: "Y"
    name: "Pa_Pad"
    op_type: "Pad"
    attribute {
      name: "mode"
      s: "constant"
      type: STRING
    }
    attribute {
      name: "pads"
      ints: 0
      ints: 1
      ints: 0
      ints: 1
      type: INTS
    }
    attribute {
      name: "value"
      f: 1.5
      type: FLOAT
    }
    domain: ""
  }
  name: "OnnxPad"
  input {
    name: "X"
    type {
      tensor_type {
        elem_type: 1
        shape {
          dim {
          }
          dim {
            dim_value: 2
          }
        }
      }
    }
  }
  output {
    name: "Y"
    type {
      tensor_type {
        elem_type: 1
        shape {
          dim {
          }
          dim {
            dim_value: 4
          }
        }
      }
    }
  }
}
opset_import {
  domain: ""
  version: 10
}

The model is checked!
输入和输出也可以省略。
pad = OnnxPad(mode="constant", value=1.5, pads=[0, 1, 0, 1], op_version=10)

model_def = pad.to_onnx({pad.inputs[0].name: X}, target_opset=10)
onnx.checker.check_model(model_def)
多个算子
让我们使用文档中的第二个示例。
# Preprocessing: create a model with two nodes, Y's shape is unknown
node1 = helper.make_node("Transpose", ["X"], ["Y"], perm=[1, 0, 2])
node2 = helper.make_node("Transpose", ["Y"], ["Z"], perm=[1, 0, 2])

graph = helper.make_graph(
    [node1, node2],
    "two-transposes",
    [helper.make_tensor_value_info("X", TensorProto.FLOAT, (2, 3, 4))],
    [helper.make_tensor_value_info("Z", TensorProto.FLOAT, (2, 3, 4))],
)

original_model = helper.make_model(graph, producer_name="onnx-examples")

# Check the model and print Y's shape information
onnx.checker.check_model(original_model)
我们将其翻译为
from skl2onnx.algebra.onnx_ops import OnnxTranspose

node = OnnxTranspose(
    OnnxTranspose("X", perm=[1, 0, 2], op_version=12), perm=[1, 0, 2], op_version=12
)
X = np.arange(2 * 3 * 4).reshape((2, 3, 4)).astype(np.float32)

# numpy arrays are good enough to define the input shape
model_def = node.to_onnx({"X": X}, target_opset=12)
onnx.checker.check_model(model_def)
使用 onnxruntime 查看输出
def predict_with_onnxruntime(model_def, *inputs):
    import onnxruntime as ort

    sess = ort.InferenceSession(
        model_def.SerializeToString(), providers=["CPUExecutionProvider"]
    )
    names = [i.name for i in sess.get_inputs()]
    dinputs = dict(zip(names, inputs))
    res = sess.run(None, dinputs)
    names = [o.name for o in sess.get_outputs()]
    return dict(zip(names, res))


Y = predict_with_onnxruntime(model_def, X)
print(Y)
{'Tr_transposed0': array([[[ 0.,  1.,  2.,  3.],
        [ 4.,  5.,  6.,  7.],
        [ 8.,  9., 10., 11.]],

       [[12., 13., 14., 15.],
        [16., 17., 18., 19.],
        [20., 21., 22., 23.]]], dtype=float32)}
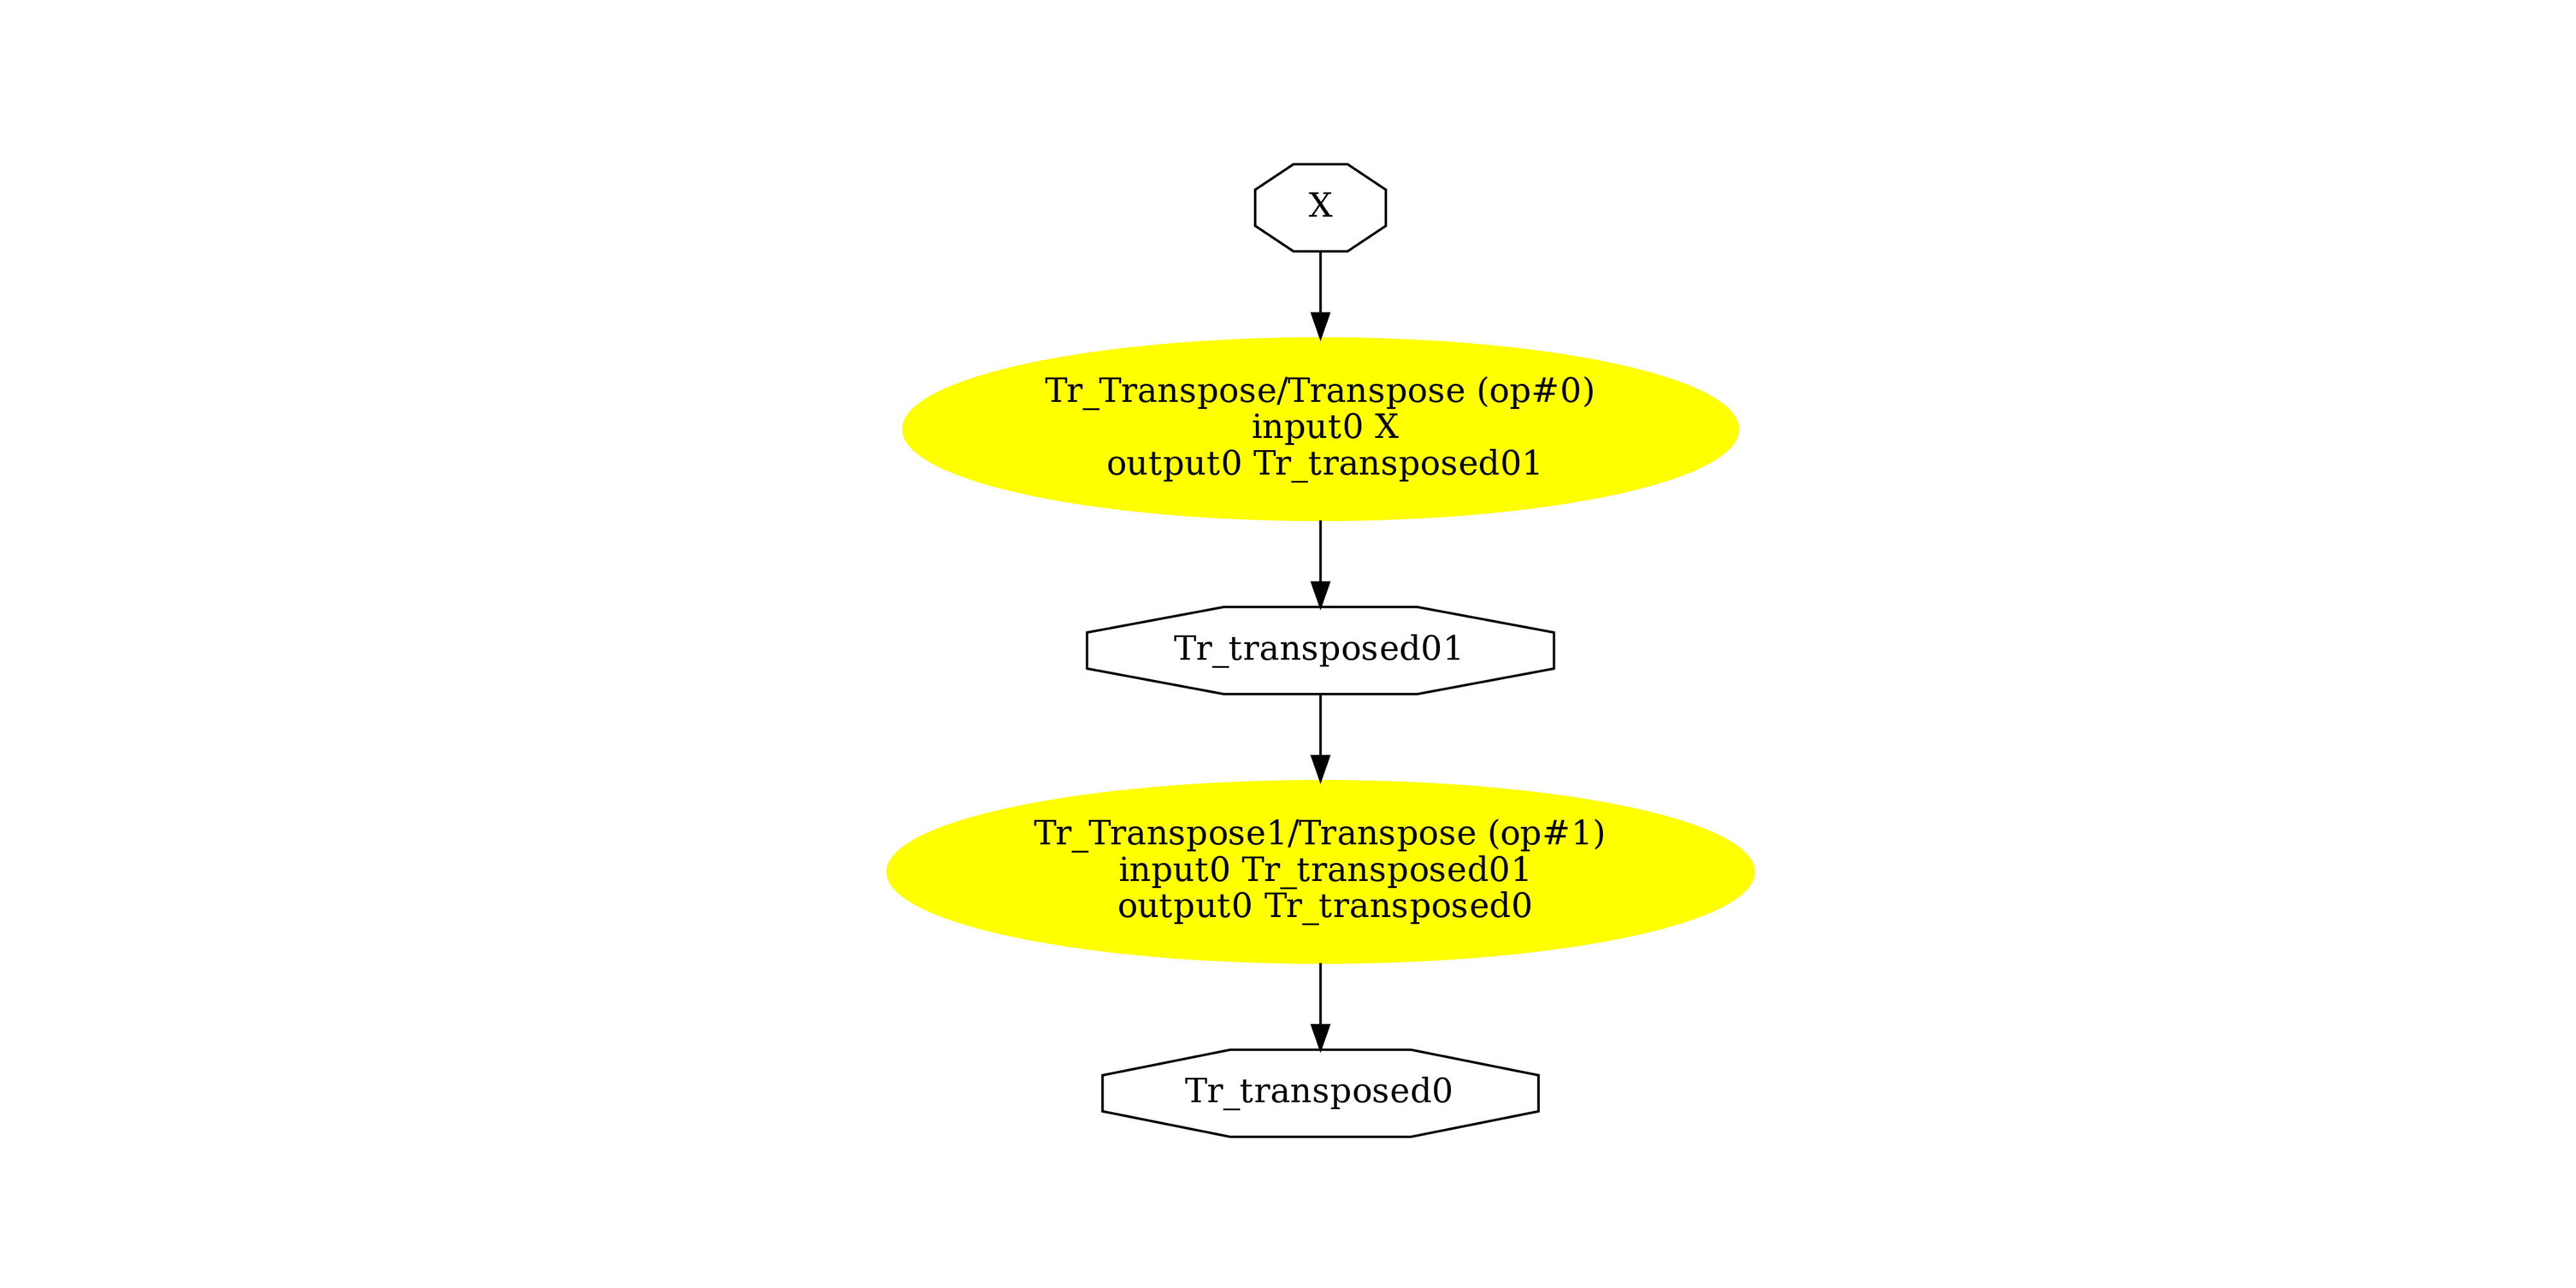
显示 ONNX 图
pydot_graph = GetPydotGraph(
    model_def.graph,
    name=model_def.graph.name,
    rankdir="TB",
    node_producer=GetOpNodeProducer(
        "docstring", color="yellow", fillcolor="yellow", style="filled"
    ),
)
pydot_graph.write_dot("pipeline_transpose2x.dot")

os.system("dot -O -Gdpi=300 -Tpng pipeline_transpose2x.dot")

image = plt.imread("pipeline_transpose2x.dot.png")
fig, ax = plt.subplots(figsize=(40, 20))
ax.imshow(image)
ax.axis("off")

(np.float64(-0.5), np.float64(1524.5), np.float64(1707.5), np.float64(-0.5))
此示例使用的版本
import sklearn

print("numpy:", numpy.__version__)
print("scikit-learn:", sklearn.__version__)
import skl2onnx

print("onnx: ", onnx.__version__)
print("onnxruntime: ", onnxruntime.__version__)
print("skl2onnx: ", skl2onnx.__version__)
numpy: 2.3.1
scikit-learn: 1.6.1
onnx:  1.19.0
onnxruntime:  1.23.0
skl2onnx:  1.19.1
脚本总运行时间: (0 分钟 0.924 秒)